Hive #2 - Day 4

May 9th, 2011

After work today I put the suit on and took some video in the hive.

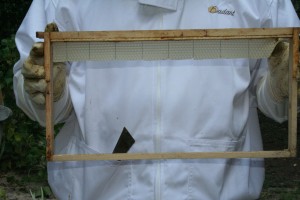
I noticed some comb on the syrup can.

The feeder is about half empty.

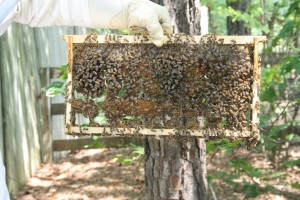
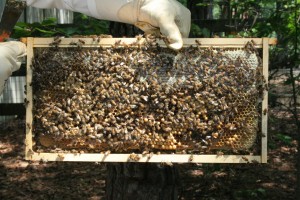
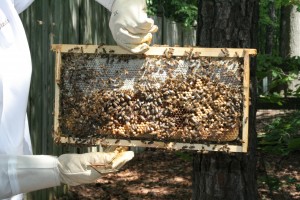
There’s a nice cluster in a wedge shape. I can make out comb in it.

Bees are coming and going nicely.

Video to come when I have a moment.

Hive #2 – Top Bar Hive

May 9th, 2011

We drove out to get our packages last Thursday. After a few sessions in the garage with some wood, a table saw, nails, glue, paint and pot of hot beeswax, we put together three top bar hives.

Thursday night when I got home with my package, I took off the wooden door, took out the syrup can and queen cage and put them in the hive. I nailed the strapping on the queen cage to a bar and let it hang. There was a feeder in the back end of the hive, the queen in the middle, then the syrup can and finally the package box in the front. I pulled the front bar back just enough to let bees get in and out.

Friday morning I drove to Connecticut for a First Holy Communion.

Sunday night when I got back, there was enough light to check the hive.

The queen cage was perpendicular to the bars and the bees built a nice piece of comb, maybe 5 inches in diameter, with nectar (syrup?) and pollen cells, off the bottom of the queen cage. I took the queen cage out and as I hadn’t pulled the cork, I popped out the cork and then stapled the cage back on the top bar, but aligned along the bar so that the resulting comb will be along a bar.

There were two or three other combs already taking shape on the waxed bars.

No bees were left in the package cage, so I removed it.

Here are the bees flying in and out on Monday:

A New Hope

February 5th, 2011

I have a package of Italians reserved at the Dadant Chatham branch for pickup around April 11th.

I’m leaning toward building a top bar hive.

Small Hive Beetle Devastation Pictures

October 18th, 2010

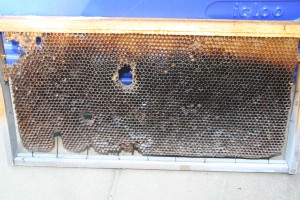
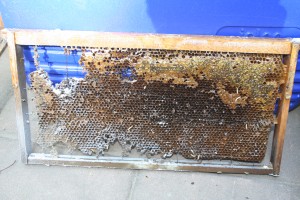
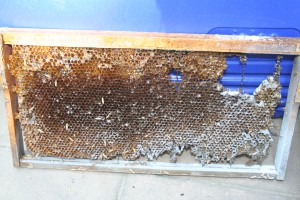
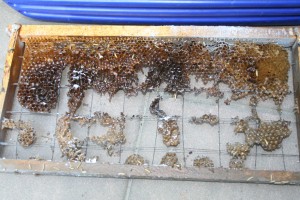
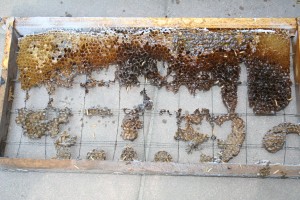
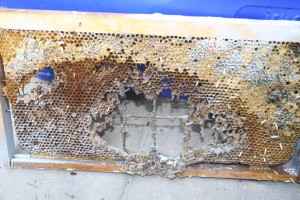
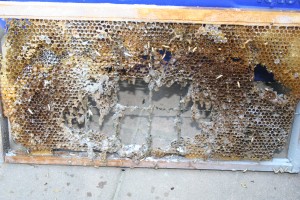
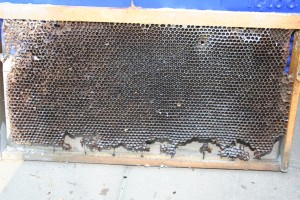
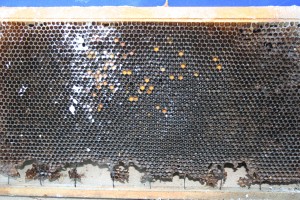
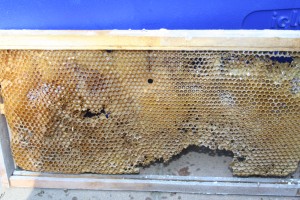
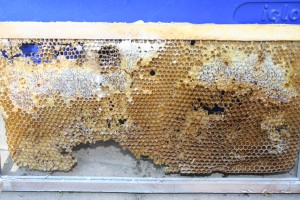
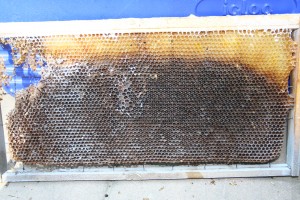
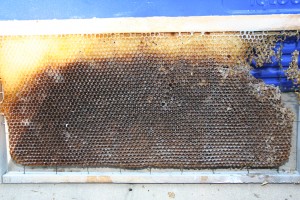
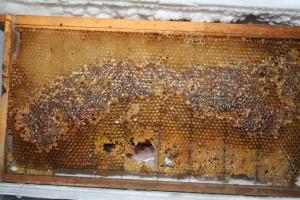
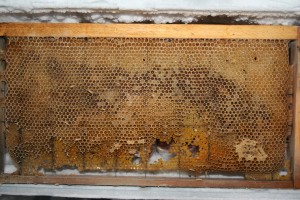
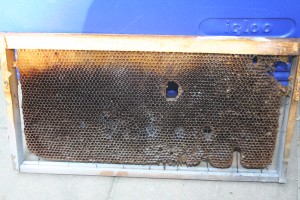
These frames are not in order, but front and back are sequential.

The cooler is where I froze them overnight with dry ice to kill the SHB larvae.  There is frost on the frames.

Frame 7 never did work out.

Some pollen left in here:

Yikes!

October 11th, 2010

I opened up the hive yesterday.  The hive smelled like Elmer’s glue.  The bottom board (now watertight) was filled with slime and SHB larvae.  The combs are largely destroyed.  The queen has not been seen.

Last night I put one comb in the hive for the bees and put the rest in a cooler with dry ice.  My hope is to kill all the SHB and larvae.  There’s more honey left than I initially thought.  There’s also some pollen.  I’m hoping that the bees will be able to survive on the freeze-cleaned comb.

Pictures and updates to come…

New Bottom Board / Top Entrance

September 8th, 2010

The hive has been infested with hive beetles for as long as I can remember and this summer the infestation has grown.  I’ve been puzzling over this for some time to see whether there was anything I could do.  I tried SHB traps with oil with little success.  The beetles hide mostly in the cracks at the corners of the hive and at the end of the frames.  They also hide in the corners of the inner cover and before I removed them, under the metal strips (rails) supporting the frames.

The old bottom board that I was using had a huge gap between the boards with plenty of SHBs hiding in there.  When I took it off, there were bees underneath, so it appears that the crack was wide enough for bees to walk in and out of the bottom.  The bees were trying to gum it up with propolis.

I have the idea that I’d like to build a better hive to eliminate SHB friendly crevices, but that’s going to take more thinking.

While thinking about the SHB problem, I read the Bush Bees pages on top bar hives and on top entrances.  I decided to go to a top entrance and to replace the bottom board with a cleaner, tighter bottom board.

OK, so I didn’ t plan it quite that well.

The first step was to build a new bottom board.  I used a 2′ x 2′ plywood board with 1″ x 3″ strapping flat around the sides with 45 degree joints.  Noah and the girls helped and it came out nicely.  There was no place that I could see that a small hive beetle could hide.  We installed the new board and noticed all the SHBs on the old board with all the bees underneath.

This is when phase 2 of the plan became more obvious.  I hadn’t planned for any entrance at all.  The solution was to invert the old bottom board and put it on top of the hive with the old cover on top.  The next day, we got another bit of plywood (conveniently sitting in the garage waiting) and mounted more 1″ x 3″ strapping, but this time perpendicularly.  We then drilled three holes in the front board and mounted it on the top of the hive.  The board was longer than a hive allowing for a overhang above the entrance.  It strikes me that this is much more like the hive that was in my house a few years back.

Here’s the result:
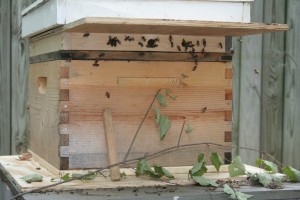
I put the branch and the wood strip there so that the bees would reorient.  I don’t know whether it did any good, but I don’t think it did any harm.

From bottom to top here’s how it stacks up:

  • bottom board
  • brood box (standard 10 frame deep)
  • inner cover
  • top cover (with three entrance holes)
  • old cover (not essential)

By the way, I didn’t spot the queen in the last inspection so I took a look again during this operation.  She was on the outside of frame 4.  Phew!

New worries:

  • Will the hive overheat?
  • Is there formaldehyde in the new bottom board which might bother the bees?
  • Are three holes enough for the bees?  They previously had a big front gap and an unknown gap under the hive.

New hopes:

  • The hive will triumph over SHB finally.
  • The hive will have better climate control with fewer gaps
  • The hive will have fewer pests with fewer entrances.
  • Fewer bees will have to spend time gluing things shut with propolis.
  • The hive will grow strong and winter over well.

Time will tell.

Saint Ambrose, patron of bees and beekeepers, pray for us.
Inspection 2010-08-28

August 30th, 2010

Description later.

Pictures here:

http://linode.siwko.org/2010-08-28-inspection/

Why I Never Could Find Information on Wiring Both Sides of A Frame

August 29th, 2010

I don’t have an embedder.  I melted a hole in my foundation when I tried to use a soldering iron.  I thought to myself, hey why don’t I just wire both sides of the frame for strength and skip the embedding.

Well, after we found a queen cell on frame 7 and sent it over to Art’s house I put in a frame with wiring on both sides.  Here’s the result:

I guess that’s why there’s no information on that technique.  My current thinking is to put a strip of foundation at the top of any new frames.  As of today, it’s worked once and a second frame is in the hive.

The hive’s pretty full right now and I’m thinking of putting another deep on.  If I do, this frame’s going upstairs and a new, “starter strip” frame will be going in the main box.  I know these aren’t exactly starter strips, but what should I call these frames: one inch top foundation strip frames?

My apologies to the true starter strip beekeepers who don’t have a box of wax foundation lying around from an overenthusiastic (and knowledge-free) start.

Honey Harvest #2

August 29th, 2010

Yesterday, on the Feast of St. Augustine, I took frame 10.

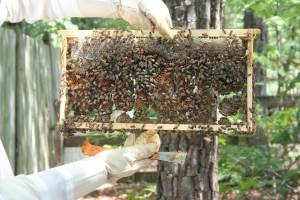
Here’s the outside of the frame.

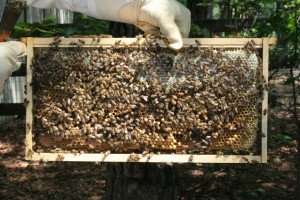
Here’s the inside of the frame.

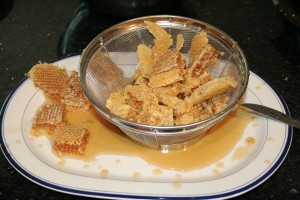
I cut some squares of comb and crushed and strained the rest.

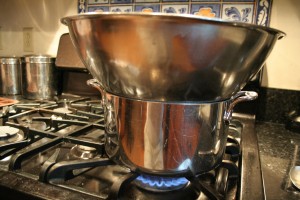
The leftovers went into the double boiler.

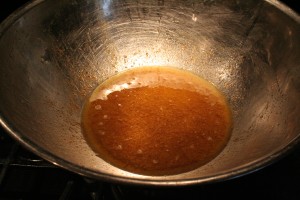
Where I melted them.

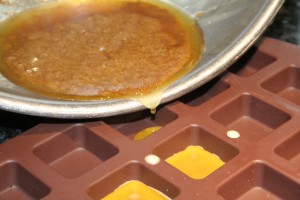
Then poured them into a silicone mini-brownie mold.

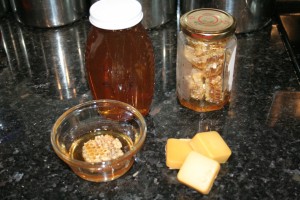
Here’s the result.  One jar of honey, one jar of cut comb, three squares of beeswax and one square of comb for Fr. Joseph-Mary.

Not too bad.

Foundation Experiment

August 29th, 2010

I started with a regular deep frame and cut an inch wide strip of deep foundation which I wedged as usual.

Here’s the result.  I think the bees did a pretty good job of building out comb.  It’s some of the prettiest that I have.

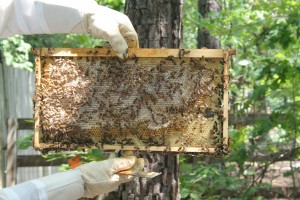
This is the outside of frame one at the extreme left of the hive.

This is the back side (the inside of frame 1).

The cells look larger than in the rest of the hive.  I have a hunch that the larger cells are for drones.  I do see more large bees in the hive, but, time will tell.

I harvested frame 10 yesterday and put in another frame with a strip of foundation.  The bees will have an opportunity to build what they want there also.

This is getting interesting.